
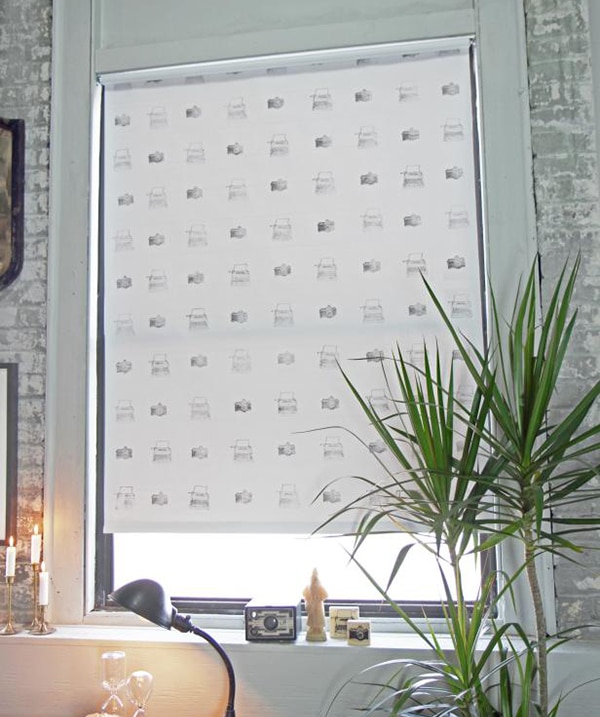
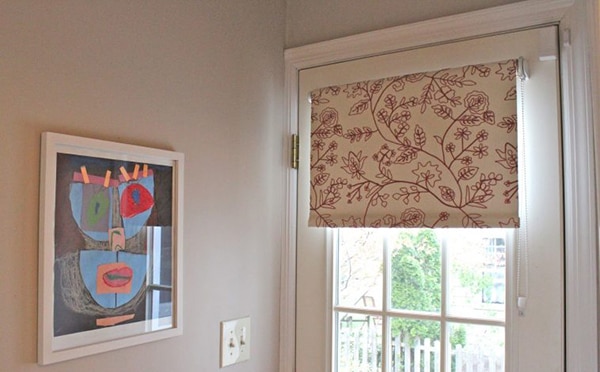
Standard for his or her versatility and ease, Roller Shades might be custom-made to fulfill and match the model necessities of any room. These shades are straightforward to function, particularly with a motorized raise. Rollers can be found in a wide range of stable colours or eye-catching patterns, and so they may even filter or block out mild – they do all of it! The minimalist look of Roller Shades has additionally made them a designer favourite, however earlier than they enliven your décor, they must be hung correctly. To not fear, as I’m right here to point out you precisely methods to dangle your new Roller Shades in three straightforward steps.
I’ll be strolling you thru a easy set up of each inside and out of doors mounted Roller Shades. Whereas the precise directions could also be completely different in your product, this information gives you a body of reference for a generic set up. Don’t overlook, you could find the precise directions in your model of Roller Shade on the set up web page of our Assist Middle. Additionally, relying in your raise system, you could have particular proper/left brackets. These brackets will not be interchangeable, so I recommending referring to the handbook included along with your product for correct positioning.
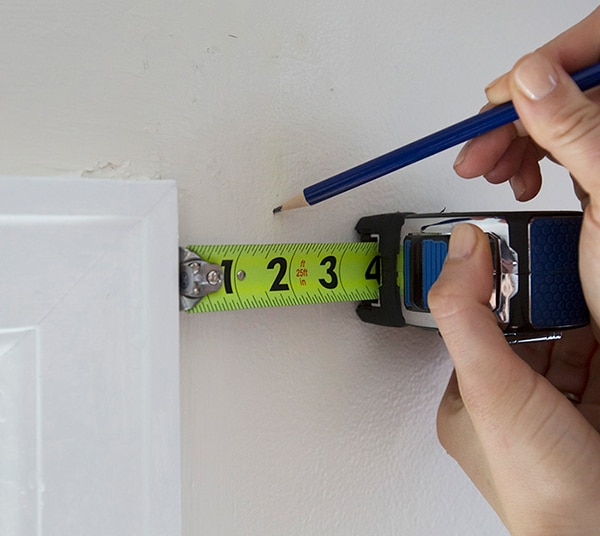
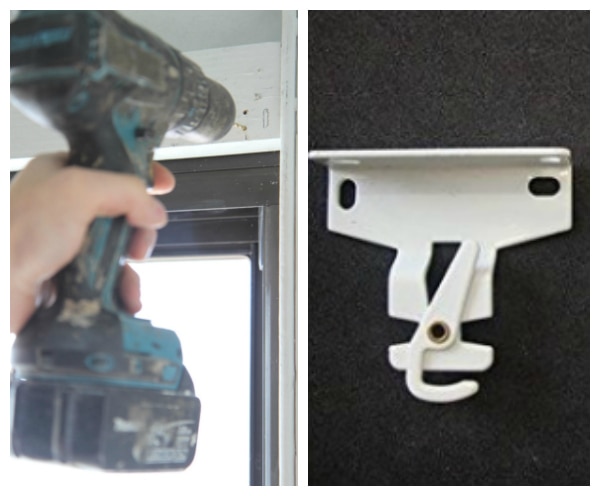
Earlier than we get began be sure to have a metal tape measure, a drill, drill bits, a screwdriver, and a pencil helpful.
Hanging Roller Shades – Inside Mount
Step 1. Inserting Brackets
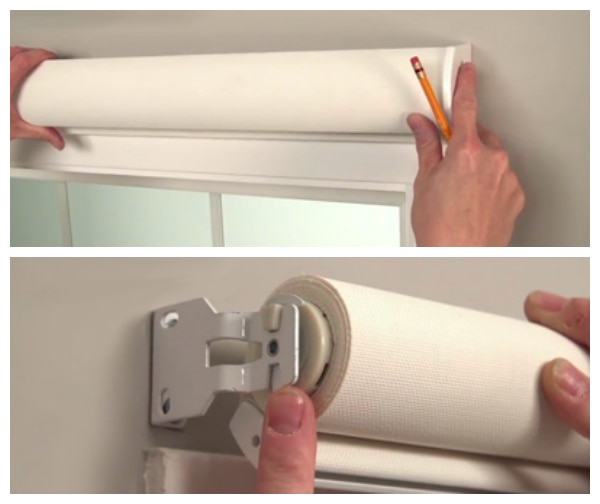
Included along with your product shall be two brackets that maintain the shade in place in your window. Mark the placement, with pencil, on the within of your window the place these brackets shall be mounted. Watch out to go away about 1/4″ between the brackets and the again and the highest of the window body, to make sure the shade may have sufficient room to roll up. When you have an additional set of fingers, you may maintain the shade in place between the brackets and roll it up/down to verify the whole lot is in place.

Step 2. Mounting Brackets
As soon as you’re certain of your placement, mount the brackets to the wall. It should assist to pre-drill the holes in every bracket through the use of your pencil markings, or the precise brackets as a information. As soon as the holes have been made, use the included fasteners to mount every bracket to the within of your window body with a screwdriver.

Step 3. Grasp Your Roller Shade
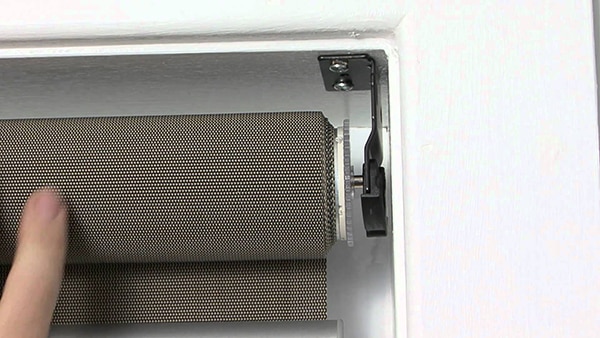
As soon as your brackets have been mounted within the appropriate place, the one factor left to do is to insert your Roller Shade. On one facet of your shade you’ll discover a retractable plunger, normally reverse of the raise controls, which needs to be inserted first. When you have a cordless shade, examine each ends fastidiously to seek out this piece. After this facet is in place, match the groove on the opposite facet of your shade to the holes within the mounting bracket. Every thing ought to click on into place and it’s best to be capable to transfer the shade up/down with out obstruction.
Hanging Roller Shades – Outdoors Mount
Step 1. Inserting Brackets
Take away your Roller Shade from its packaging and maintain it above your window within the place the place you want to it to be positioned. Then, take the 2 brackets included along with your product and mark their location, in pencil, on both finish of the shade. Please make sure that the brackets are degree and equally spaced, as that’s required for clean, even operation and correct mild blockage.
Step 2. Mounting Brackets
As soon as you’re certain of your bracket placement, you may mount them to the wall. Utilizing the brackets or your pencil markings as a information, fastidiously pre-drill the holes above your window. Brackets will normally require two screws to mount, and I counsel you to make use of the right fasteners relying on the floor your Roller is positioned.
Step 3. Grasp Your Roller Shade
After your brackets have been correctly secured, you’re able to snap your Roller Shade into place. Every finish of your Roller Shade is designed to suit into the right bracket. Discover the facet of your shade with a retractable plunger and insert that finish first. The opposite finish needs to be lined up with the grooves in your shade for an ideal match. As soon as the shade is in place, roll it up/down to make sure the whole lot is working completely.
Voila! That’s all it takes. See? There was nothing to be fearful about. Roller Shades are virtually as straightforward to hold as they’re to function. You already did many of the work by figuring out what sort of mount you had been utilizing whenever you ordered the product. If you happen to had been capable of deal with measuring in your Roller Shades, set up needs to be a stroll within the park. These up to date, minimalist shades are rapidly rising in recognition and it’s straightforward to see why. If you happen to’re simply getting began, you will get a extra complete have a look at Roller Shades, together with which model of mount could be finest in your window, by studying my Roller Reminders weblog put up. Over 99% of Roll X Shades clients do their very own set up and now you may, too!

Construct and customise the right Roller Shade for each room in your home so you may see their smooth, minimal enchantment for your self.
Discover ways to measure your home windows for roller shades with this beneficial video.
Featured Picture: SDDVY
The put up How To Grasp Roller Shades appeared first on Roll X Shades Weblog.